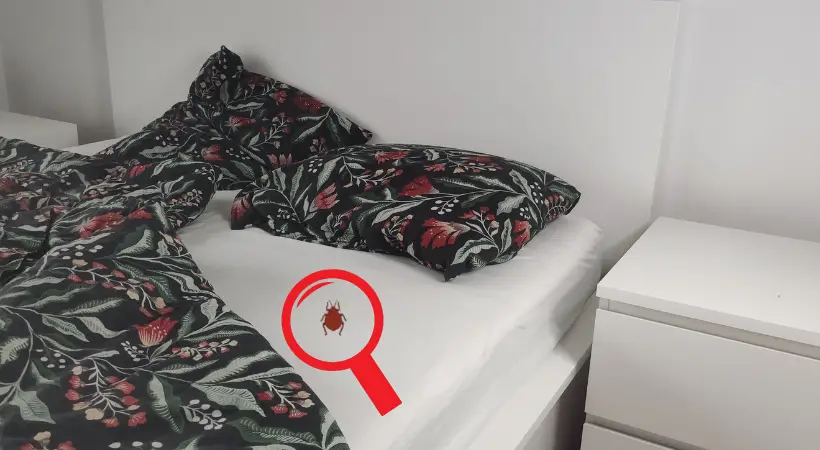
You see a nasty black spot under the bed: it seems to be dust, but it moves! Take a closer look – it’s bed bugs!
Although they look small, bed bugs can cause several skin infections, insomnia, and anxiety—meaning that they are dangerous!
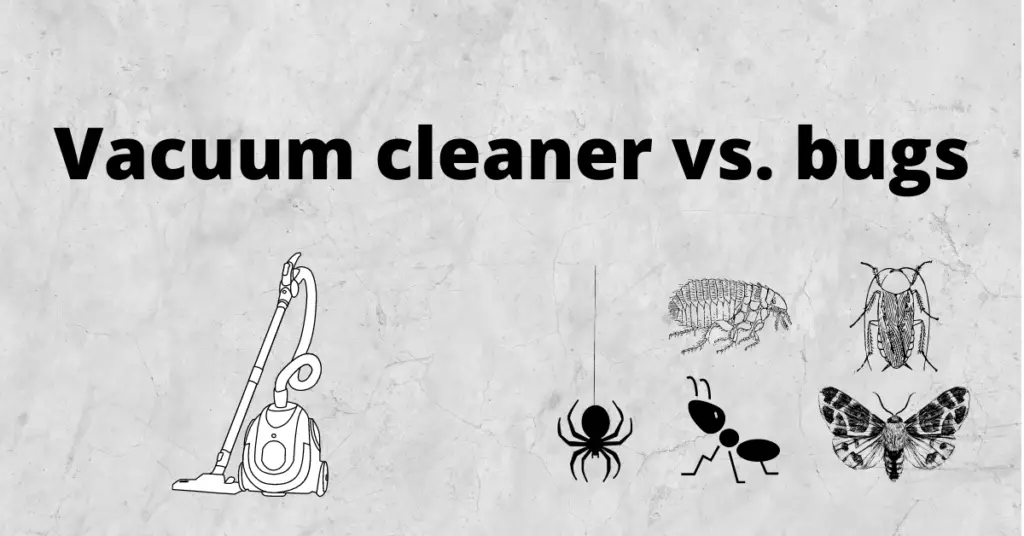
Don’t panic, though! Your vacuum cleaner will take care of them. Vacuuming is one of the best ways to end most of the bugs, and cleaning your vacuum after every extermination is another best way to get rid of them for good. On top of that, it even works against ants, fleas and spiders too!
Failing to clean your vacuum can lead to bed bugs escaping and re-spreading – after all the hard work we certainly don’t want that.
So follow along and find out how to correctly clean your vacuum after you deal with bed bugs.
How effective is vacuuming against bed bugs?
Getting rid of bed bugs is a nightmare greater than the insect itself but luckily vacuums suck up these pests right where they live — the mattress and box springs, wall voids and crevices, etc.
Vacuums are especially effective due to the variety of attachments available that allow you to get into the nooks and crannies all around your home. Another bonus about hoovers is that they can eliminate large clusters of bed bugs that may be resistant to insecticides.
Vacuumed bed bugs will have to deal with fierce suction power and spinning vacuum bristles against which their fragile body stands little chance. So the likelihood of them dying is high, but it’s not guaranteed.
Yet, even if some do survive – they will still be trapped inside the vacuum cleaner.
Although we conclude that vacuuming bed bugs is effective – it’s important to note that it is only effective when done right. Make sure you don’t rush the process. Focus on one area at a time, go slow and steady with the vacuuming process. For best results, repeat it a couple of extra times a few days later to control the infestation.
Vacuum cleaner – a habitat for bed bugs?
As we mentioned, bed bugs may survive the initial vacuum attack. And if they do, they may continue to live there for quite a while. According to the University of California depending on their life cycle stage certain bed bugs can survive up to 400 days without feeding. That’s more than 1 year!
However, chances of them staying inside and patiently waiting for their death are slim. Sooner or later, bed bugs might attempt to crawl out in search of a host to survive. And to avoid this risk, cleaning your vacuum is crucial.
How to clean a vacuum after catching bed bugs?
We hope that now you see the importance of cleaning the vacuum after your battle with bed bugs, therefore we are ready to present our best tips on how to do that the most efficiently.
Cleaning the bagless vacuum container
Generally, a bagless vacuum cleaner is more sustainable since it has a sliding component to remove the vacuumed content.
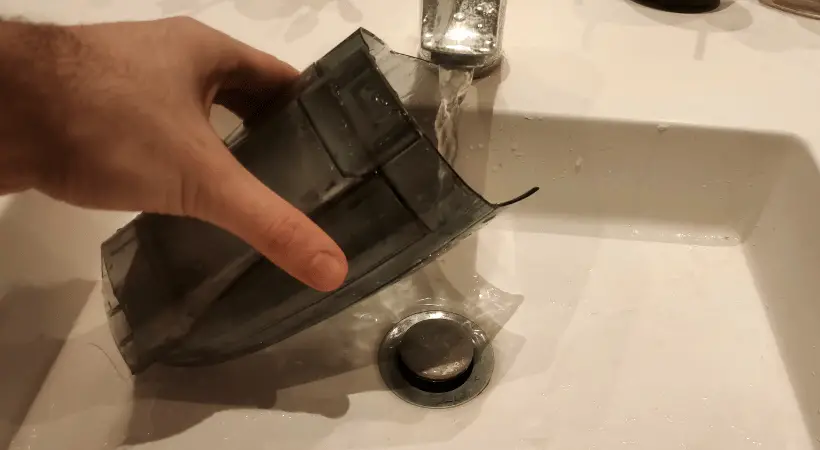
If you’ve used a bagless vacuum to do the job, empty whatever is accumulated and eradicate every bug. empty it the way you normally would and check under a bright light to ensure that no traces of bed bugs are remaining.
To be sure you’ve not missed any, scrub the container with soap and hot water. Exposure to high temperature will guarantee that the vacuum is thoroughly cleaned, and no bloodsucking bugs survive.
Finally, use a tough microfiber cloth and remove any dirt and debris.
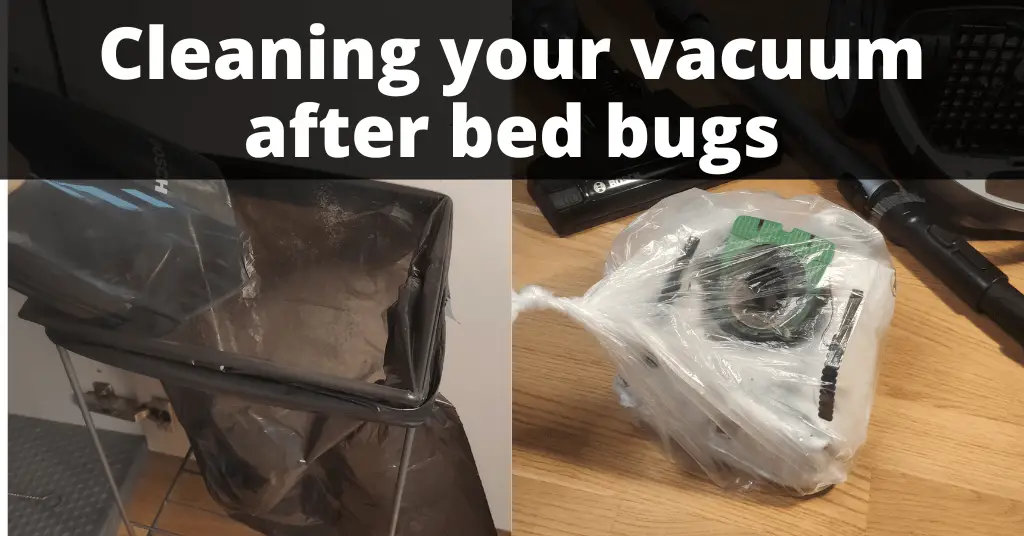
Disposing the vacuum bag
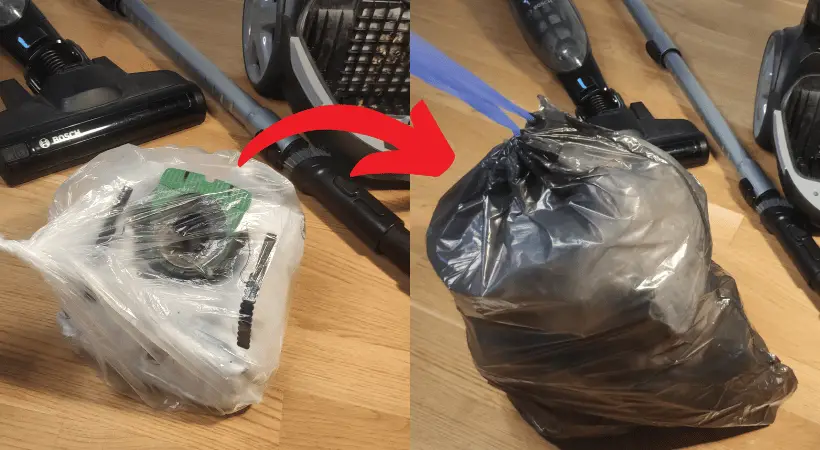
In case you use a regular hoover, remove the vacuum bag and dispose of it in a plastic bag. Seal it tight and throw it in a garbage container outside of your home.
We do recommend getting rid of the vacuum bag regardless how full it is to avoid the unnecessary trouble. Usually they are available in most supermarkets and are not too expensive.
Cleaning the attachments
Attachments are some of the easiest parts of a hoover to forget and are extremely essential. To clean the attachments, fill up an idle bucket or bathtub with some water and dish soap and leave them in for a couple of hours. Afterwards, remove any dirt that remains stuck with a scrubbing brush.
Is there a need to use any chemicals when cleaning the container?
It isn’t necessary. In fact it’s recommended to avoid any harsh chemicals as they can damage the body of a container. But in case you choose to go this path, you must take the necessary precautions such as buying the appropriate pesticide and follow the necessary instructions indicated in the label.